donderdag 1 augustus 2013

Fun with Trail Mix by Bo Bunny

What do they call it? In the nick of time, right? Well, this one is!

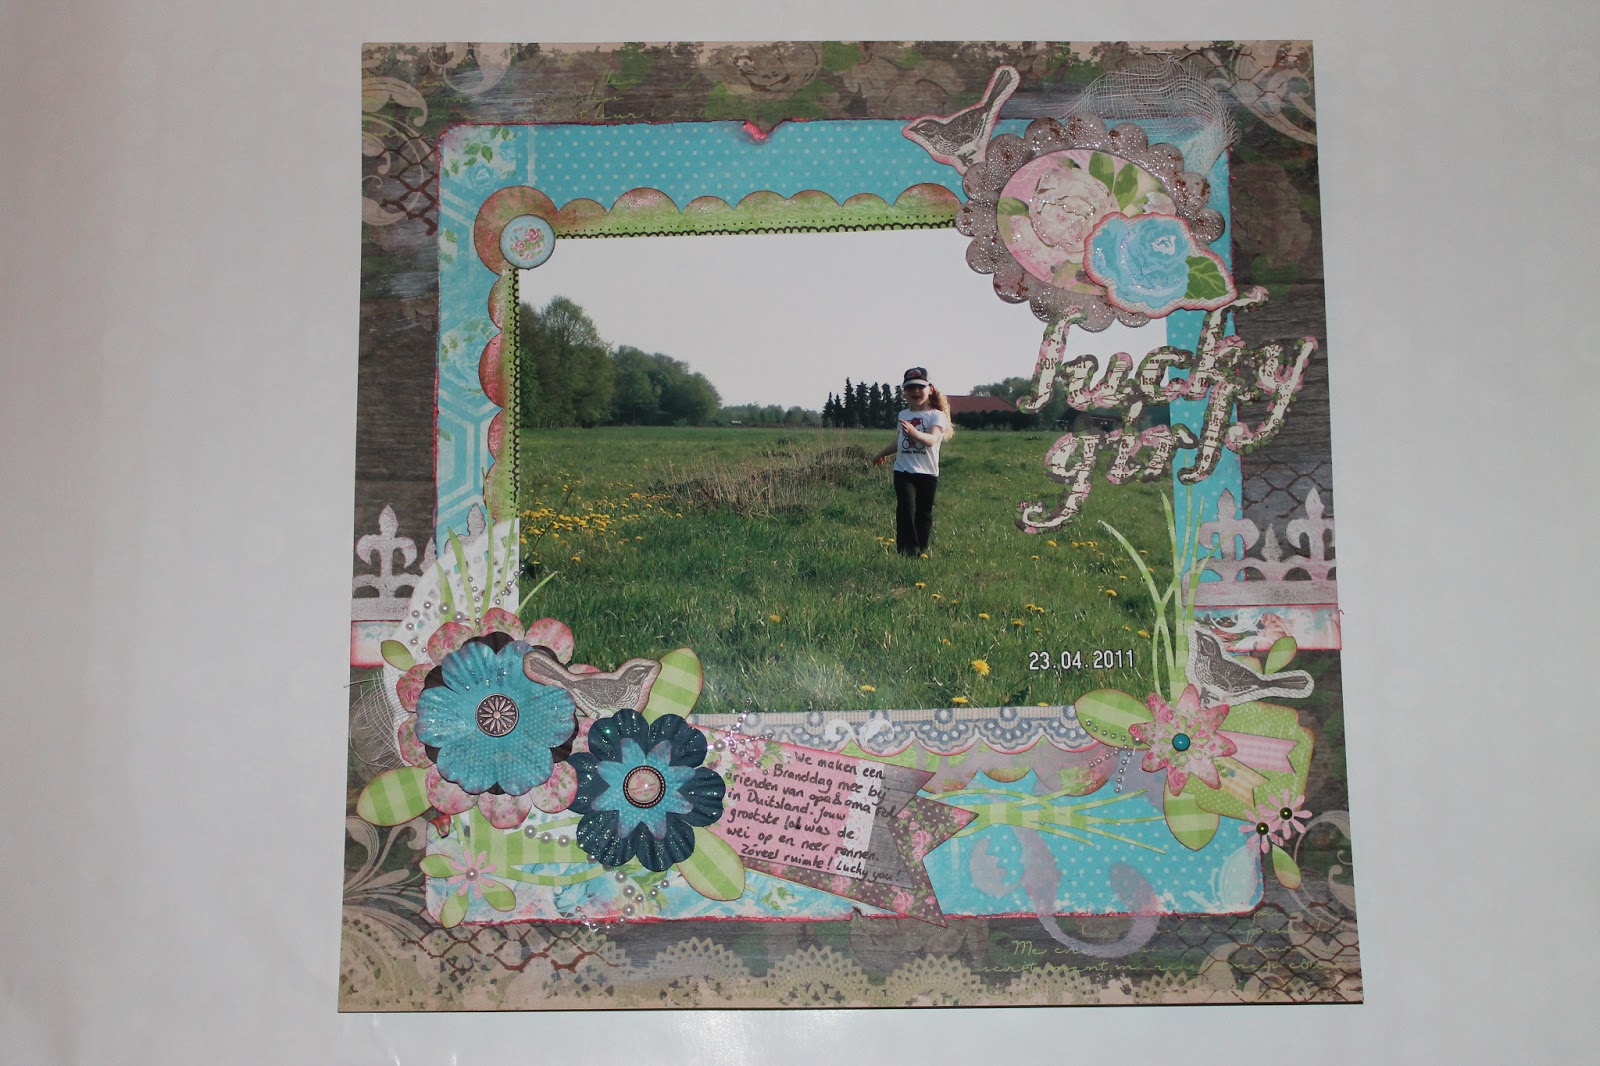
The challenge was to create a layout with banners on it. Right from the start I knew I wanted to use Trail Mix for that one, as that collection has a lot of different colours that still match. 

But what picture to use? 

Then my eyes fell on the latest school picture. The last one of me and Duncan. Next year he'll be in school himself and won't be able to join me at the school where I work. So there's a bit of joy as well as melancholy to this picture.


I started with putting texture paste on the paper. When that dried, distress ink came next. 

Next was distressing al the edges. It always makes me sneeze, what with all the paper dust flying around. 

Putting everything together was a challenge in itself, because I had to keep lifting edges and corners to put all the other papers up and under eachother.

My trusty Silhouette Cameo took care of the title.

Now I have 40 minutes to turn this in.

I can do this. Even though the photo's have been shot with my phone...

See?

I did it.

Thanks for looking!

woensdag 12 juni 2013

Snap! Gotcha!!!!

Saturday, June 8th 2013 was a happy day for me. I got to participate in a workshop by the talented Birgit Koopsen-Bernstein. Having seen her work in magazines, I was more than a bit impressed. 
The workshop was hosted by my favourite shop Scrap4Fun where I chose a comfy spot in a corner where I found a bag with a lot of goodies we were going to use. This was waaaaaaay outside my comfort zone!!! Jillybean Soup paper, alpha's, funky looking foils and: tie wraps!


Birgit showed us what to cut, how to emboss the foils but the most wonderful thing was working with Silk Microfine Glitter that stuck to Scrapbook Adhesive Sheets. The glitter was a bit dull at first, however if you rubbed them with your finger, they started to shine. It didn't even feel like there was something glittery on the sheet.


 When it was time to leave, my album was only half done. Fortunately, I took photo's of Birgit's example album, so when I was home, I was able to peek once in a while. 

I found some photography quotes online that went well with the subject. Working quotes into my projects makes it a bit more special to me.


These foils were tricky to work with. First we had to emboss them with a folder and a Big Shot. After that we had to make a choice: use them as is, or attack them with a bit of sanding paper. The sanding paper scratches off the top layer, leaving the white layer shining through (see the above circular pattern). That layer could be inked with Stazon ink.


The tie wraps work very well as a binding thingie, because it doesn't matter how thick the album gets, it'll fit. I'm going to remember that trick for sure.

All in all, I'm quite happy with the way the album turned out, even though it was miles beyond my comfort zone.

Thanks for looking :-)


zondag 19 mei 2013

Having fun with Prairie Chic

After doing a lot of gift packages, I finally went back to making layouts. The collection Prairie Chic by Bo Bunny was calling me, demanding to know why it's been used so little up to now.
So I got crackin'. The talented Gabrielle Pollacco inspired me with her lovely shabby chic style, so I lifted some ideas from her pages.

My Silhouette has been busy too, cutting all sorts of shapes, flowers and leaves for me. Aside from my Silhouette, I started using a sewing machine. Everyone who knows me is bound to crack up now, because I do not know how to sew fabric!!! Fortunately, on paper it doesn't matter if the lines get crooked, so I'm safe :-) .


Morgan was visiting my sister & her boyfriend. They took her to a petting zoo in Delftse Hout. She was 3, didn't even have her glasses yet. 


The leaf shape with words on it is cut with my Big Shot. First some chipboard, then the same leaf with a page with words on it.
The boots I cut out of a Noteworthy, leaving the brown scalloped edges. I used those edges around the photo, so I got little to throw away.


 Finally, a good use for my washi tape! Notice the butterflies? They're cut by my Silhouette and then inked/painted with Distress Inks and a waterbrush. Love that technique!


 On this page I used a lot of cut out shapes that I all inked with Distress Ink: Walnut Stain, Peeled Paint and Tea Dye.
 Loved the idea of a fence in front of a photo!
 2 flowers on top of eachother, wrinkled with water first. The leaves I coloured with Distress Ink by rubbing the ink on a palette, adding a spritz of water and wiping the leaf through it, then dry it with my heat gun. Results are different every time, that's what makes it such a fun technique.
 A bit of twine over the fence. I had a bit of trouble gluing the flower. It didn't want to stick!!! Fortunately, Aleene's Tacky Glue convinced the flower it did belong there.

Thanks for looking! Leave a comment if you like.

zaterdag 30 maart 2013

Wedding Present

A few weeks ago my colleagues asked me if I would be willing to make a wedding present for one of our colleagues who was getting married. 
YES OF COURSE!!!! 

Since the happy couple likes the colour blue, the painting should be done in blue. Every colleague was given a small piece of blue paper on which to write a thought, wish, message for the happy couple. 

In the meantime, I went and bought a canvas. A Big Canvas! I the store I thought: well, that's a good size.
But when I came home that thought was replaced by: I need another house...

Fortunately, with a bit of pushing around the canvas could be put on my desk and I got to work. 
Basic Grey Periphery Paper, acrylic paints, chipboard, ribbon, glitter glue, embossing powders, gesso, stamps, the whole shebang! 

This is how it turned out.

size? 110 cm x 75 cm!!!

Dylusions spray paint white linen for the word "LOVE".

lots of chipboard hearts which my friend cut with a Big Shot (a machine still on my wish list)

My Silhouette Cameo cut out the swirl.

frilly ribbon, yay!

inspirational pieces of my colleagues.

tiny bell that really makes a small sound when the wind blows past it.

 Thank you for looking!

maandag 4 maart 2013

Lucky girl

After a lot of projects here and there I finally entered another Challenge from Bo Bunny. The Challenge is: use the word "Lucky" on a layout.

So I did.

For this layout I used Bo Bunny's new collection Prairie Chic. 

The brown background I treated with gesso and then I stamped on it with the new Bo Bunny stamps. I love the chicken wire pattern!


Translation of the tag: We experienced a Burn Day with friends of grandma and grandpa Pol in Germany (it's a day when you're allowed to burn all your garden waste; it's a celebration that goes well with a bbq, hihihi). Your favourite pastime was running through the meadow. So much space. Lucky you!


My Silhouette machine cut out the grass design for me (gotta love that machine!). 


Behind the chipboard frame I glued some gauze, a great tip I read in a Dutch scrapbook magazine.

A few years ago I was proud to have finished a layout in a few hours. Now I can spend days with a single page and not care that it isn't done yet. Evolution in a small area, right?

Thanks for looking!

dinsdag 29 januari 2013

Mixed Media


Some time ago, I watched a tutorial by Gabrielle Pollacco and thought to myself: I can do that too!!! 
Turns out I can!

I started out with a bare canvas (40x40 cm) and applied paper and acrylic paint with my fingers. Why my fingers? To feel where the paint goes.
While letting that dry, I inked the flowers that I cut with my Silhouette Cameo (how I love that machine!). 
Next were the chipboard shapes, cut with a Big Shot. I applied acrylic paint and Ranger's Crackle Paint for a distressed look.


On the counter of my favourite store Scrap4Fun I read a poem that made me giggle a lot: "Ode to my Wife, the Scrapbook Cropper". While I read it I thought to myself: I'm not this bad, yet.
I found the poem online, printed it and put that in the middle of my canvas. The flowers I arranged around it. 

The last thing I added was a bit of doodling and some phrases that sprang to mind while building this mixed media.


I was so happy with the result that I took it with me to show my colleagues. One of them asked me if I could make one in yellow with the names of her grandchildren. So I did, and she loved it!


Next: a smaller canvas as a gift to our concierge at school. He has always been nice to me, and because he's leaving us, I made him one, a small one of 20x20 cm.


This is a lot of fun to do!!!

Thanks for looking :-)